The most common problem with speakers are rotten, torn or damaged surrounds. Constant vibration, moisture and the time cause foam, rubber and cloth surrounds to degrade. This causes distortion or the speaker to lose sound. Our easy to install repair kits will make your old speakers sound just like brand new.
You can repair your speaker with flexible Rubber Surround easly and make it brand new with vibrant sound quailty. Our surround has flexiable design, produced by EPDM rubber technology, making it durable. EPDM Rubbers have excellent heat, light, ozone/weathering, and aging resistance. To correctly repair your speaker, it is sent with repair guide which includes videos and images.
Please check the model and size of your speakers before placing your order to be sure you receive the correct Surround. The Surround can deviate from the original size of your edge by up to 3 mm, this is not a problem during repair.
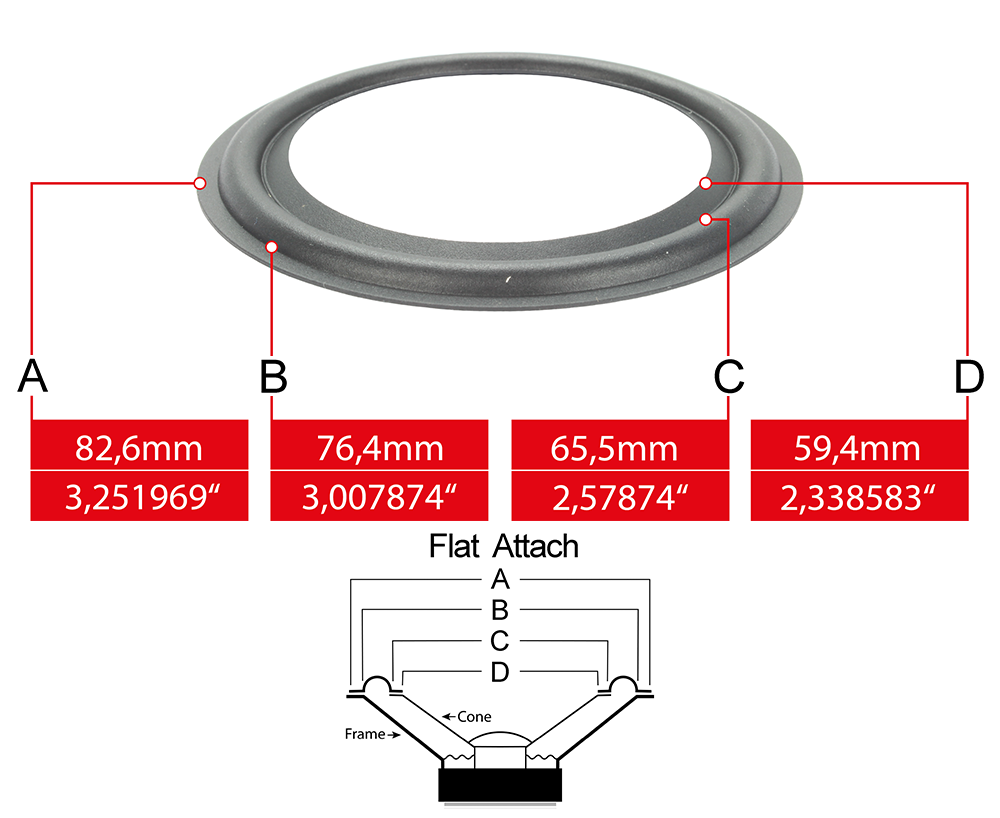
Product Specifications
| (A) Outer diameter |
82.6 mm (3-1⁄4") |
| (B) Roll outer diameter |
76.4 mm (3-1⁄64") |
| (C) Roll inner diameter |
65.5 mm (2-37⁄64") |
| (D) Inner diameter |
59.4 mm (2-11⁄32") |
| (E) Roll width |
5.45 mm (0-7⁄32") |
| (F) Thickness |
0.3 mm (0-1⁄64") |
| (G) Height |
3.5 mm (0-9⁄64") |
| Form |
Flat |
| Material |
Rubber |
| Color |
Black |
| Model Compatibility |
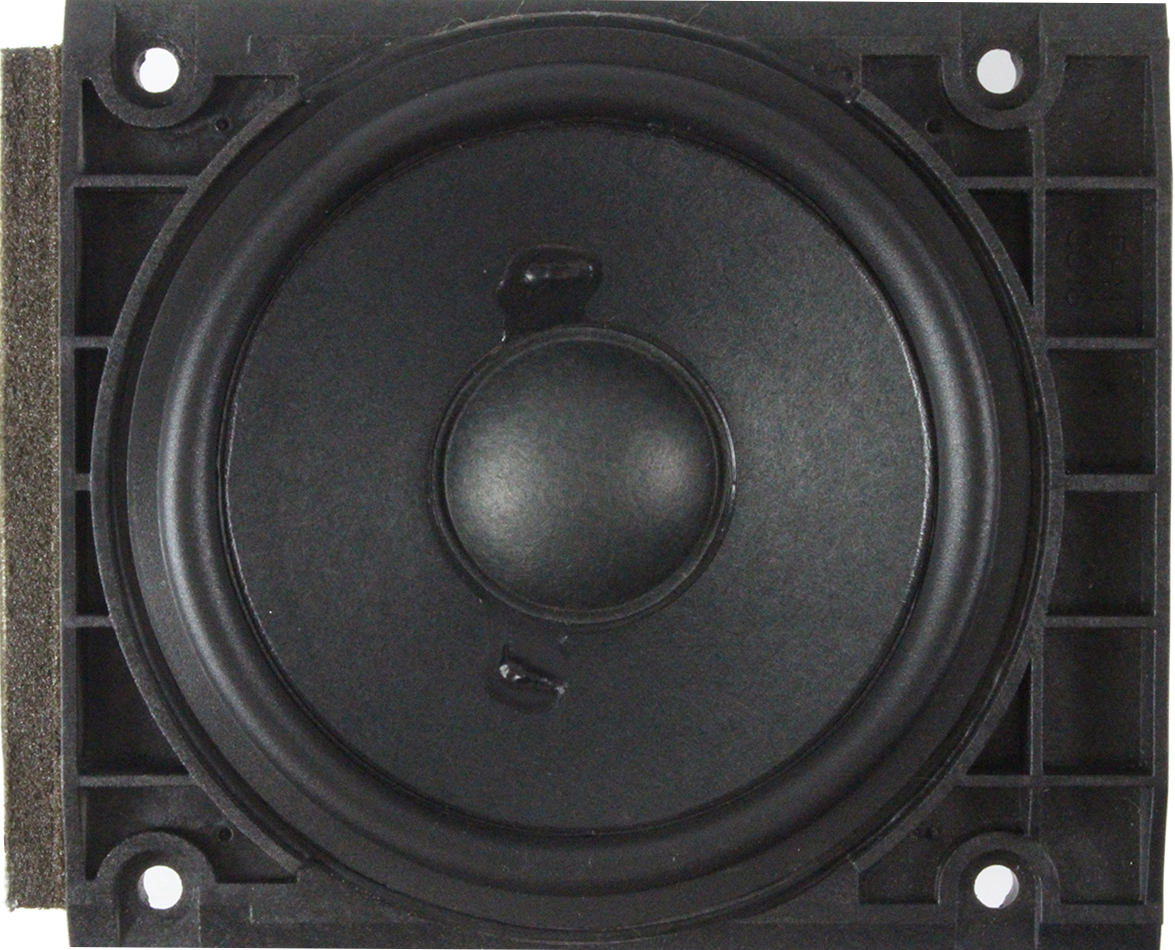
Bang & Olufsen BeoLab 6000 |
| Kit Contents |
2X Surrounds, 20g Adhesive, Repair Guide |
|
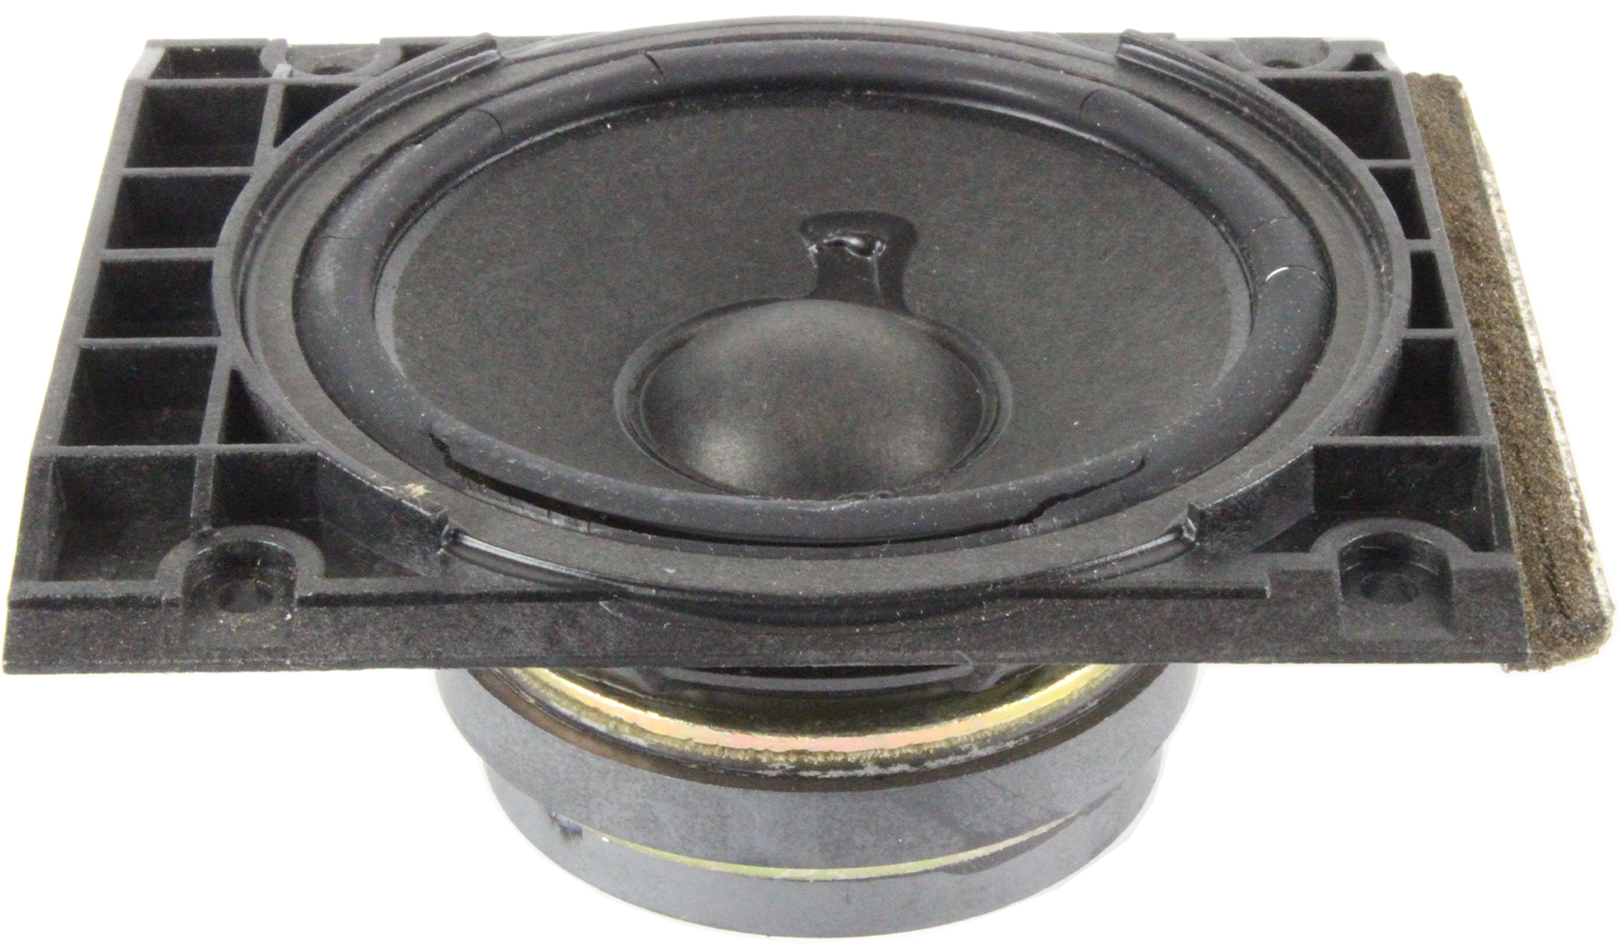
Before / Bang & Olufsen BeoLab 6000
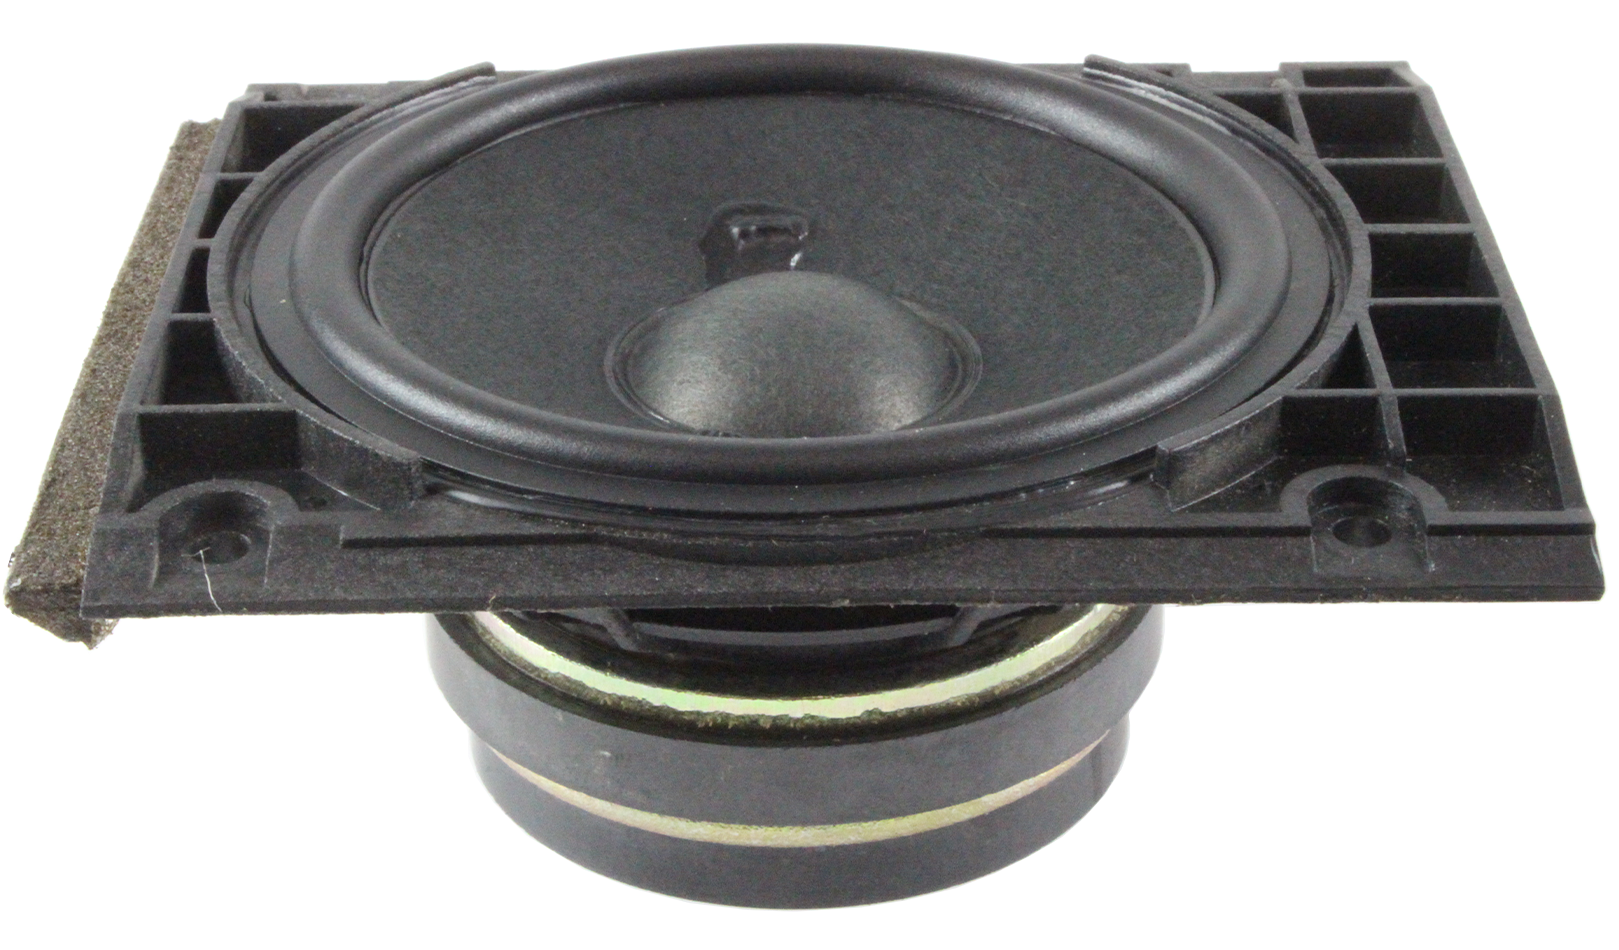
After / Bang & Olufsen BeoLab 6000
Repair Manual: Replacing edge of Bang & Olufsen BeoLab 6000
1: The most common problem with speakers are rotten, torn or damaged surrounds. Constant vibration, moisture and the time cause foam, rubber and cloth surrounds to degrade. This causes distortion or the speaker to lose sound. Our easy to install repair kits will make your old speakers sound just like brand new.
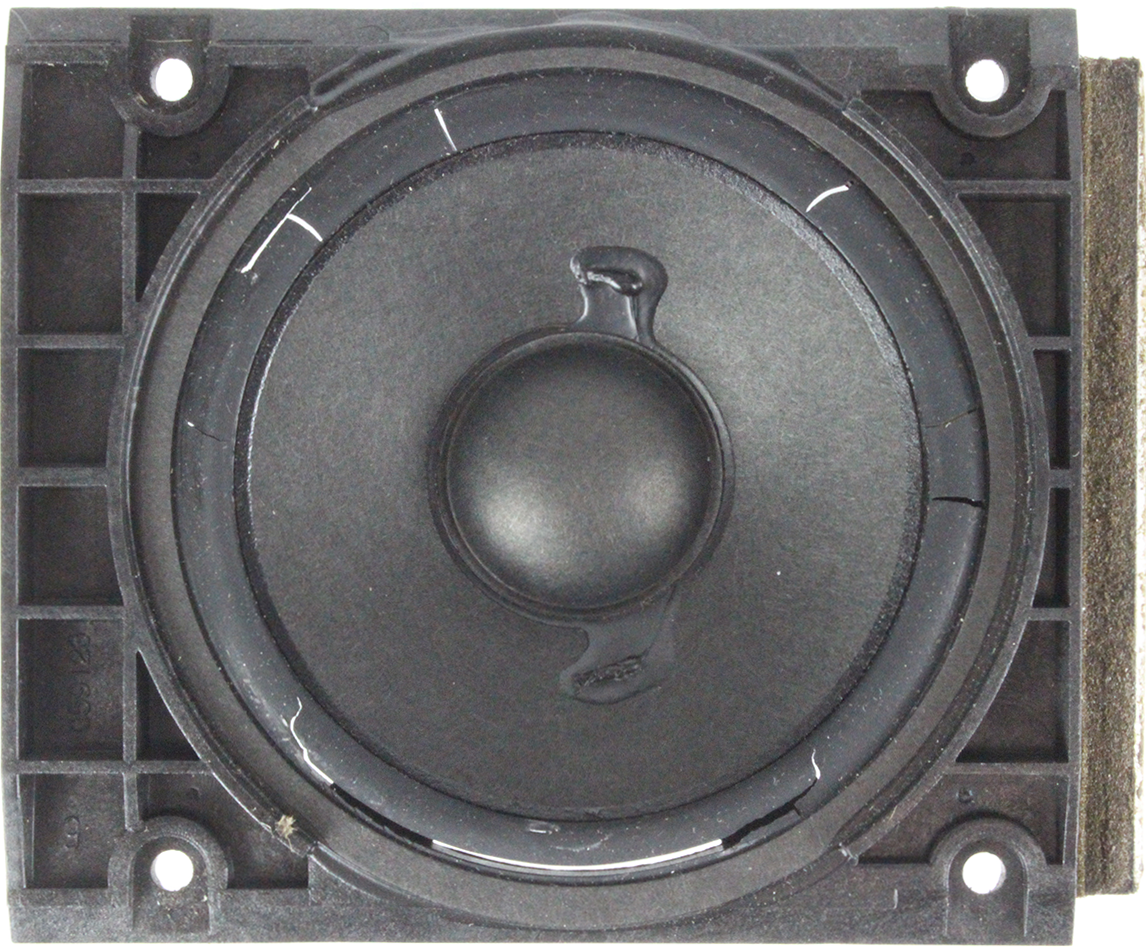
2: Cut the old rubber edge residue with a utility knife.
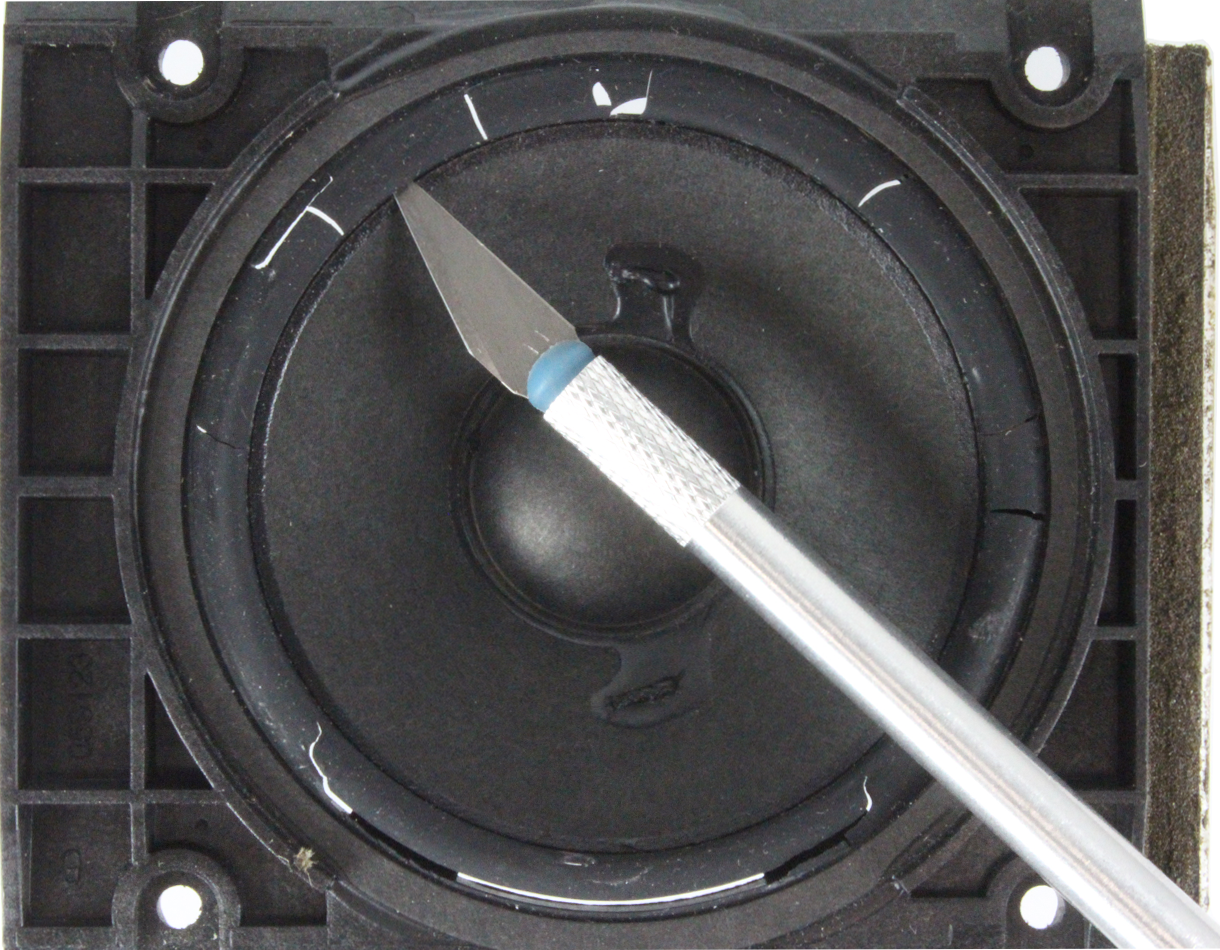
3: Clean the area to be bonded and make sure it is dry.

4: Place the new edge under the cone.
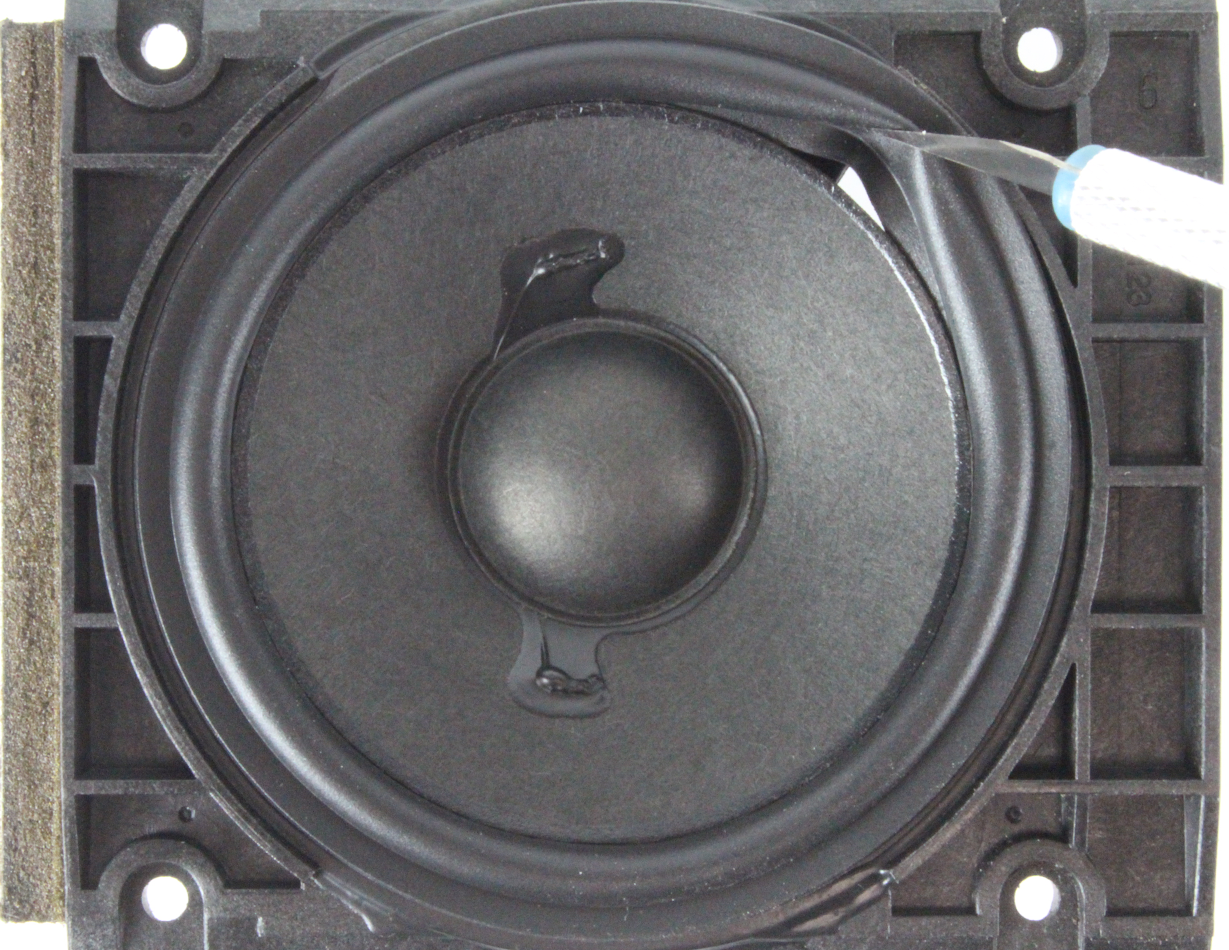
5: Apply the adhesive between the edge and the cone using a syringe. Drying time 25-45 minutes.
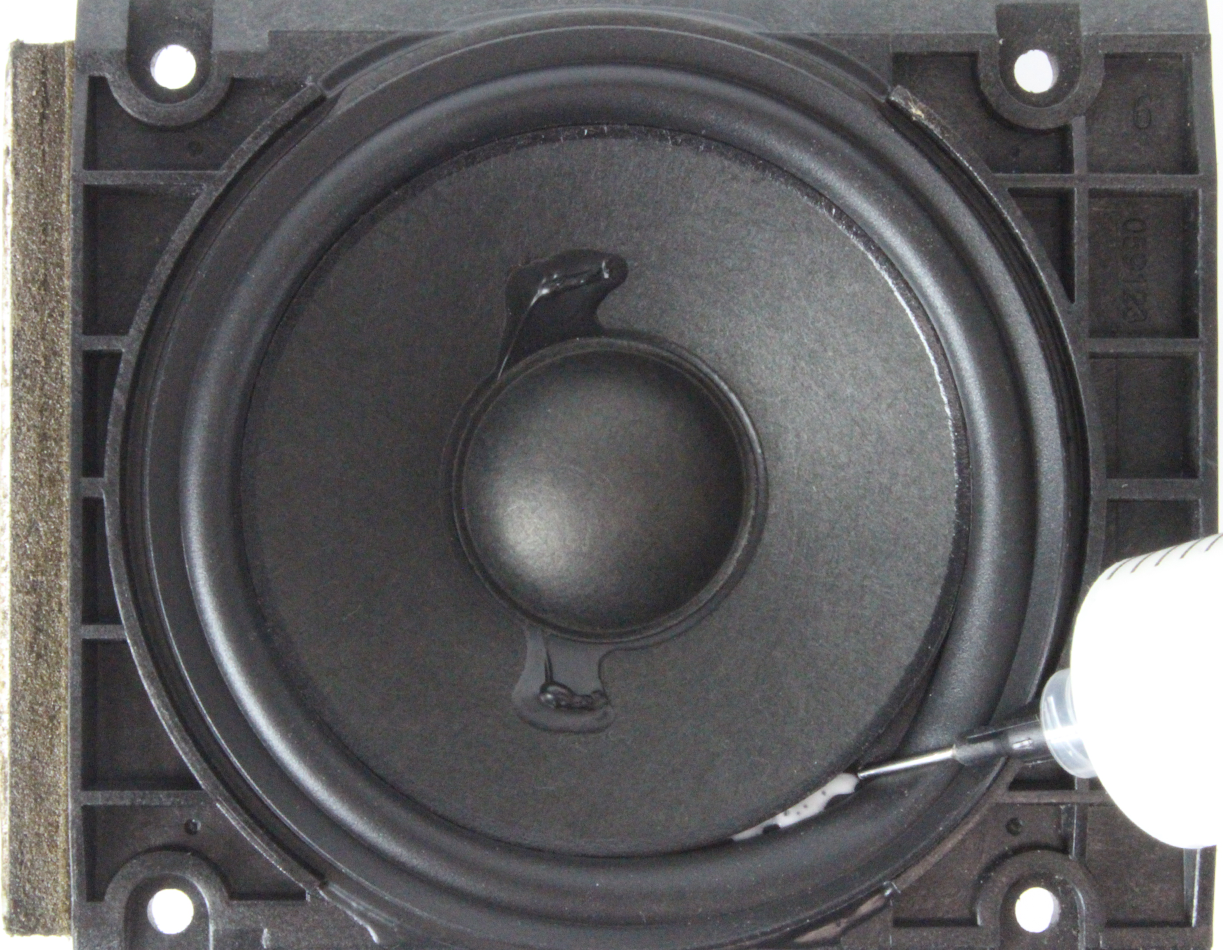
6: Apply the adhesive between the edge and the speaker basket using a syringe. Drying time 25-45 minutes.
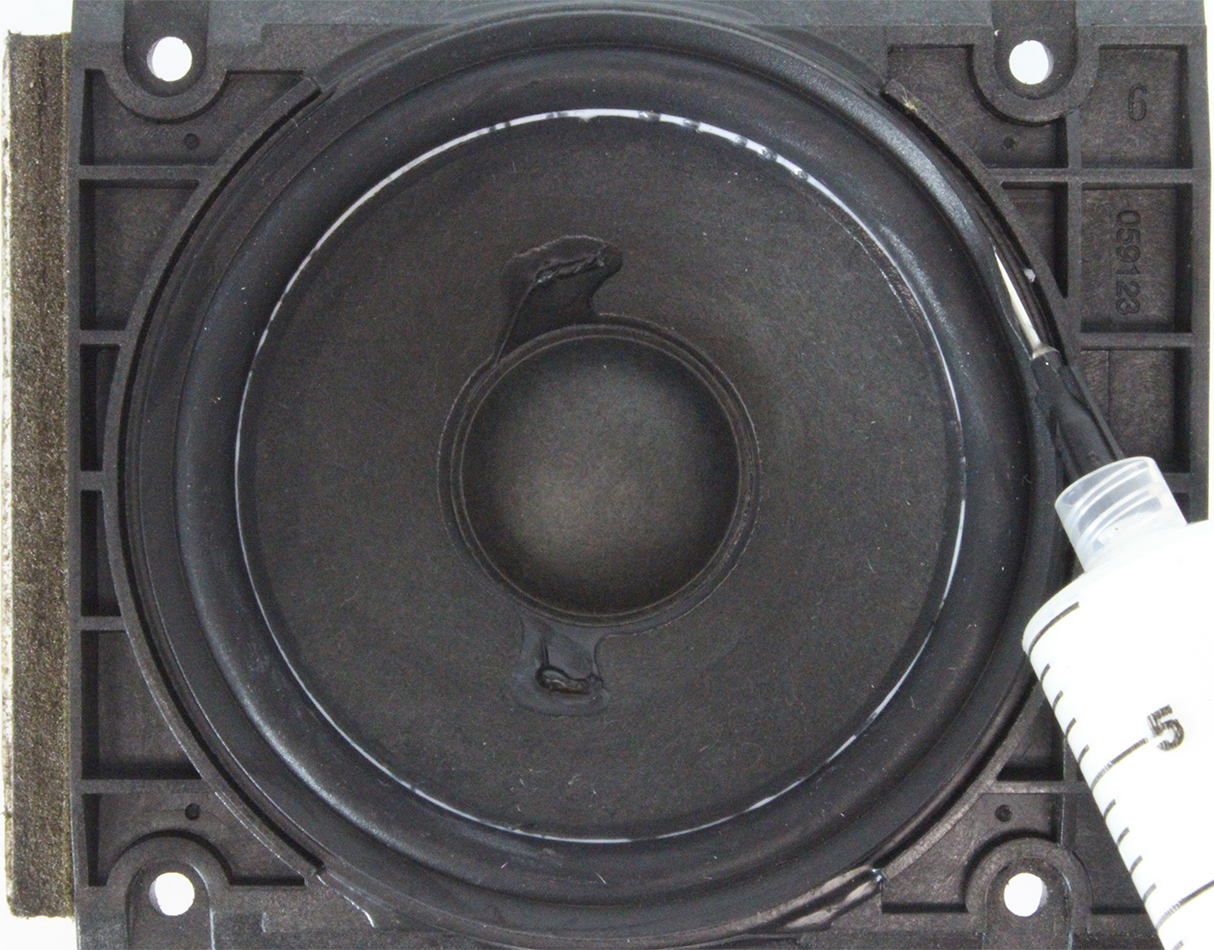
7: The adhesive will become transparent after it dries. If adhesive runs beyond the area to be glued, clean it with a damp cloth.
✔️ Lifetime Warranty
✔️ German produced flexible Surrounds are being used by many speaker producing companies
✔️ Amazing sound quality with extra flexible design
✔️ EPDM rubber for high elasticity and durability
✔️ EPDM rubber much better resistance to heat, light and ozone
✔️ We are shipping the same high quality parts that professional speaker producing companies use
✔️ Our easy to install repair kits can be installed without removing the dust caps
✔️ Dust caps, gaskets, cones and shims are available for most models in stock
✔️ Our exclusive drying rubber based repair elastic adhesive is designed for paper, poly, metal, and composite cones
✔️ Repair guide with images and videos
✔️ Original design for 4200+ speaker models
✔️ Thousands of customers have installed our speaker foam repair kits successfully
✔️ Easy to follow illustrated instructions
✔️ Installation average time is 30 minutes per speaker
✔️ Your speaker will sound as first day with our easy to install repair kit
✔️ We quickly ship your order worldwide
✔️ Lautsprecher Technik has been the leading supplier of loudspeaker parts since 2010